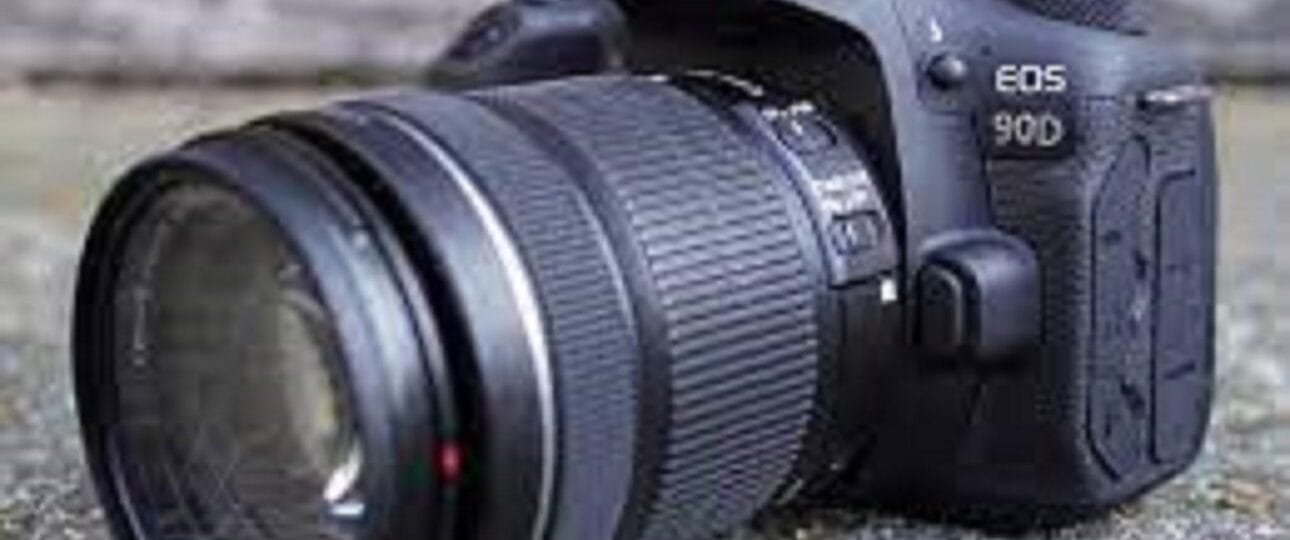
Introduction to DSLR Cameras
A DSLR (Digital Single-Lens Reflex) camera is a type of digital camera that uses a mirror and prism system to allow photographers to see exactly what the lens is capturing. This system provides more control over the settings and quality of your images compared to other types of cameras, making it a popular choice among both amateur and professional photographers.
With a DSLR, you have the ability to change lenses, offering flexibility for different types of photography, whether it’s landscapes, portraits, or action shots. The primary benefit of using a DSLR is the ability to manually adjust key settings like aperture, shutter speed, and ISO, giving you full creative control over your images.
Now, let’s dive into understanding how these three settings work together to create a great photo!
Understanding Aperture, Shutter Speed, and ISO in DSLR Photography
When learning DSLR photography, mastering the three fundamental settings—Aperture, Shutter Speed, and ISO—is crucial. These settings control how light enters the camera and affects the final image. Let’s break them down in an easy-to-understand way.
1. Aperture (f-stop) – Controls the Depth of Field
Think of aperture as the eye of the camera—it controls how much light enters through the lens.
- Definition: Aperture is the opening in the camera lens that allows light to pass through. It is measured in f-stops (e.g., f/1.8, f/5.6, f/11).
- Effect on Image:
- Lower f-stop (f/1.8, f/2.8) → More light enters → Blurry background (shallow depth of field) (Best for portraits)
- Higher f-stop (f/8, f/16) → Less light enters → Everything in focus (deep depth of field) (Best for landscapes)
- Analogy: Think of your pupil—in the dark, it widens to let in more light (low f-stop), while in bright light, it shrinks (high f-stop).
- Example Use:
- Portraits → f/1.8 (blurry background, subject in focus)
- Landscape Photography → f/11 or higher (everything sharp and clear)
2. Shutter Speed – Controls Motion Blur
Shutter speed determines how long the camera sensor is exposed to light.
- Definition: It is measured in fractions of a second (e.g., 1/200s, 1/1000s, 1s).
- Effect on Image:
- Fast shutter speed (1/1000s, 1/500s) → Freezes motion (Best for sports, action shots)
- Slow shutter speed (1/30s, 1s, or longer) → Captures motion blur (Best for light trails, waterfalls)
- Analogy: Imagine blinking—if you blink quickly (fast shutter), you freeze what you see, but if you keep your eyes open longer (slow shutter), moving objects appear blurred.
- Example Use:
- Freezing motion → 1/1000s for sports or wildlife photography
- Capturing light trails → 5s+ for night photography
3. ISO – Controls Brightness & Noise
ISO adjusts the camera’s sensitivity to light.
- Definition: Measured in numbers like 100, 400, 1600, 3200.
- Effect on Image:
- Low ISO (100-400) → Less sensitivity, clean image (Best for bright daylight)
- High ISO (1600, 3200, 6400) → More sensitivity, grainy/noisy image (Useful in low light)
- Analogy: Imagine your ears adjusting to sound—in a quiet room (low ISO), you hear clearly, but in a noisy crowd (high ISO), sound gets distorted.
- Example Use:
- Outdoor photography → ISO 100-200 (less noise)
- Night or indoor photography → ISO 800+ (brighter but more noise)
How They Work Together (Exposure Triangle)
Aperture, Shutter Speed, and ISO work together to create a well-exposed photo. Adjusting one setting affects the others.
Example
- 📸 Shooting a fast-moving object?
- Increase shutter speed (1/1000s) to freeze motion
- Use a wider aperture (f/2.8) to allow more light
- Increase ISO if needed (400-800) for brightness
- 📸 Shooting a fast-moving object?
Final Tips for Beginners
✔ Start with Aperture Priority Mode (A or Av) – The camera adjusts shutter speed for you.
✔ Experiment with Manual Mode (M) – Adjust all three settings yourself for full control.
✔ Use a tripod for slow shutter speed shots to avoid blurriness.
✔ Practice in different lighting conditions to understand their effects.
More DSLR settings
Here are some recommended DSLR settings for various lighting conditions:
1. Morning (Soft, Diffused Light)
- Aperture: f/5.6 to f/8 (balanced depth of field)
- Shutter Speed: 1/250s to 1/500s (to capture sharp details)
- ISO: 100-200 (low sensitivity due to soft light)
- Tips: Early mornings have soft light; use a moderate aperture and shutter speed to capture the calm atmosphere.
2. Daytime (Bright, Natural Light)
- Aperture: f/8 to f/11 (good depth of field for landscape shots)
- Shutter Speed: 1/500s to 1/1000s (quick enough to freeze motion)
- ISO: 100 (minimum noise in bright daylight)
- Tips: In daylight, your camera will have plenty of light. Use a smaller aperture (higher f-stop) to keep everything sharp.
3. Full Sunlight (Bright and Harsh Light)
- Aperture: f/11 or higher (to avoid overexposing the image)
- Shutter Speed: 1/1000s to 1/2000s (to prevent motion blur)
- ISO: 100 (to avoid noise)
- Tips: Bright sunlight may lead to overexposure. Use a higher f-stop and a fast shutter speed to balance the exposure.
4. Evening (Golden Hour)
- Aperture: f/2.8 to f/4 (for a nice blurred background and good light intake)
- Shutter Speed: 1/250s to 1/500s (slower, but still fast enough for moving subjects)
- ISO: 200-400 (low to medium sensitivity as light starts to fade)
- Tips: Evening light is softer and warmer. Use a wider aperture for portraits with a bokeh effect and a moderate shutter speed to capture the glow.
5. Nighttime (Low Light)
- Aperture: f/2.8 to f/4 (wide open to let in more light)
- Shutter Speed: 1/30s to 1/60s (slow shutter speed to capture more light, but be mindful of motion blur)
- ISO: 800-1600 (higher sensitivity for darker conditions, but not too high to avoid excessive noise)
- Tips: You’ll need to open the aperture and increase ISO to compensate for the lack of light. Use a tripod to avoid camera shake.
6. Party Time (Indoor with Artificial Light)
- Aperture: f/2.8 to f/4 (wide aperture to let in as much light as possible)
- Shutter Speed: 1/60s to 1/125s (fast enough to freeze people moving)
- ISO: 800-1600 (to adjust for low light, but not too high to cause noise)
- Tips: Party lighting is often colorful and low. A wide aperture and higher ISO will help, but you might need a fast enough shutter speed to prevent blur.
7. Night with Full Light (City Lights or Lit Buildings)
- Aperture: f/8 to f/11 (to get everything in focus)
- Shutter Speed: 1/60s to 1/125s (long enough to capture light, but not so long to cause blur)
- ISO: 400-800 (since there’s more light from the city)
- Tips: Night scenes with lots of lights can be captured beautifully with a longer shutter speed to let in enough light. Use a tripod to avoid blur.
8. Night with Low Light (Stars, Darker Streets)
- Aperture: f/2.8 to f/4 (wide open to allow as much light as possible)
- Shutter Speed: 10s+ (long exposure for star trails or capturing details in the dark)
- ISO: 1600-3200 (higher ISO to capture light but beware of grain)
- Tips: Night photography in low light requires long exposures. Use a tripod to stabilize the camera, especially for star or long-exposure shots.
9. Overcast or Cloudy Day (Diffused Light)
- Aperture: f/5.6 to f/8 (slightly larger aperture to compensate for the lack of direct sunlight)
- Shutter Speed: 1/250s to 1/500s (enough to freeze motion in cloudy conditions)
- ISO: 200-400 (since light is softer)
- Tips: Cloudy days are good for portraits with soft, even light. Increase ISO slightly for a brighter image if needed.
10. Snowy Conditions (Bright Reflective Light)
- Aperture: f/8 to f/11 (to get everything sharp in the bright, reflective snow)
- Shutter Speed: 1/500s to 1/1000s (fast to prevent motion blur in snow)
- ISO: 100-200 (snow reflects a lot of light, so low ISO will prevent overexposure)
- Tips: Snow can trick your camera’s light meter, often making photos too dark. Adjust exposure compensation or use a lower shutter speed to balance it out.
General Tips for Different Lighting Conditions:
- Use Exposure Compensation: In tricky light conditions, you can adjust the exposure compensation (EV) to brighten or darken your photo.
- Use a Tripod in Low Light: For slow shutter speeds (especially in low light), using a tripod will prevent camera shake and ensure sharp images.
- Use RAW Format: Shooting in RAW allows for better post-processing flexibility, especially when adjusting exposure, contrast, and brightness after the shot.
By understanding these settings and how they change depending on lighting, you’ll be able to adapt to various scenarios and capture stunning photos no matter the time of day or lighting conditions!